Jewelry photo retouching is the specialized commercial post-production discipline of eliminating micro-dust, controlling specular metal reflections, restoring multi-plane sharpness through focus stacking, and hand-cutting sub-pixel vector clipping paths around delicate prongs, chains, and gemstones. Unlike standard product photography, fine jewelry magnifies every fingerprint, lint fiber, and lighting glare by 10× under 200% e-commerce zoom. In this comprehensive 2026 studio guide, Dinamico Studio’s lead retouchers break down the exact Photoshop workflows, focus-stacking specs, metal color-grading curves, marketplace rules, and automated-AI pitfalls required to turn raw macro jewelry captures into high-converting luxury catalog imagery.
Need Mirror-Clean Jewelry Retouching at Scale?
Send up to 3 raw ring, necklace, or watch photos for a free studio sample edit—complete with reflection cleanup, multi-path clipping, and 24-hour delivery.
1. Why Jewelry Photo Retouching Is the Hardest Discipline in E-Commerce
Standard e-commerce apparel or footwear retouching deals primarily with matte textiles, simple silhouettes, and predictable diffused lighting. Fine jewelry and luxury watches violate nearly every rule of conventional studio photography. Every square millimeter of a gold ring, platinum bezel, or pavé diamond bracelet behaves like a curved mirror sitting inches away from a macro lens.
When shooting at 1:1 macro magnification (often with a 90mm or 100mm macro lens at f/8 to f/11), four optical realities conspire against an unretouched RAW file:
- Extreme Specular Sensitivity: Polished 18k gold, rhodium-plated white gold, and stainless steel reflect the camera lens, tripod legs, studio walls, and the photographer's hands directly onto the metal surface.
- Paper-Thin Depth of Field: Even stopped down to f/11 at macro working distances, only the front prongs of an engagement ring sit in tack-sharp focus while the back shank melts into optical blur.
- Microscopic Surface Imperfections: Specular highlights amplify invisible cotton-glove lint, polishing compound residue, microscopic casting pores, and hairlines into glaring visual defects on 2500px product zoom views.
- Multi-Tone Metal Calibration: Yellow gold, rose gold, champagne gold, and sterling silver shift wildly toward muddy orange or cold cyan depending on ambient bounce cards and camera white-balance drift.
Because luxury buyers regularly spend $500 to $25,000+ based strictly on digital inspection, a single unremoved studio reflection or soft gemstone facet instantly erodes brand authority. That is why top fine-jewelry brands pair clean macro capture with dedicated professional jewelry retouching services rather than relying on one-click automated filters.
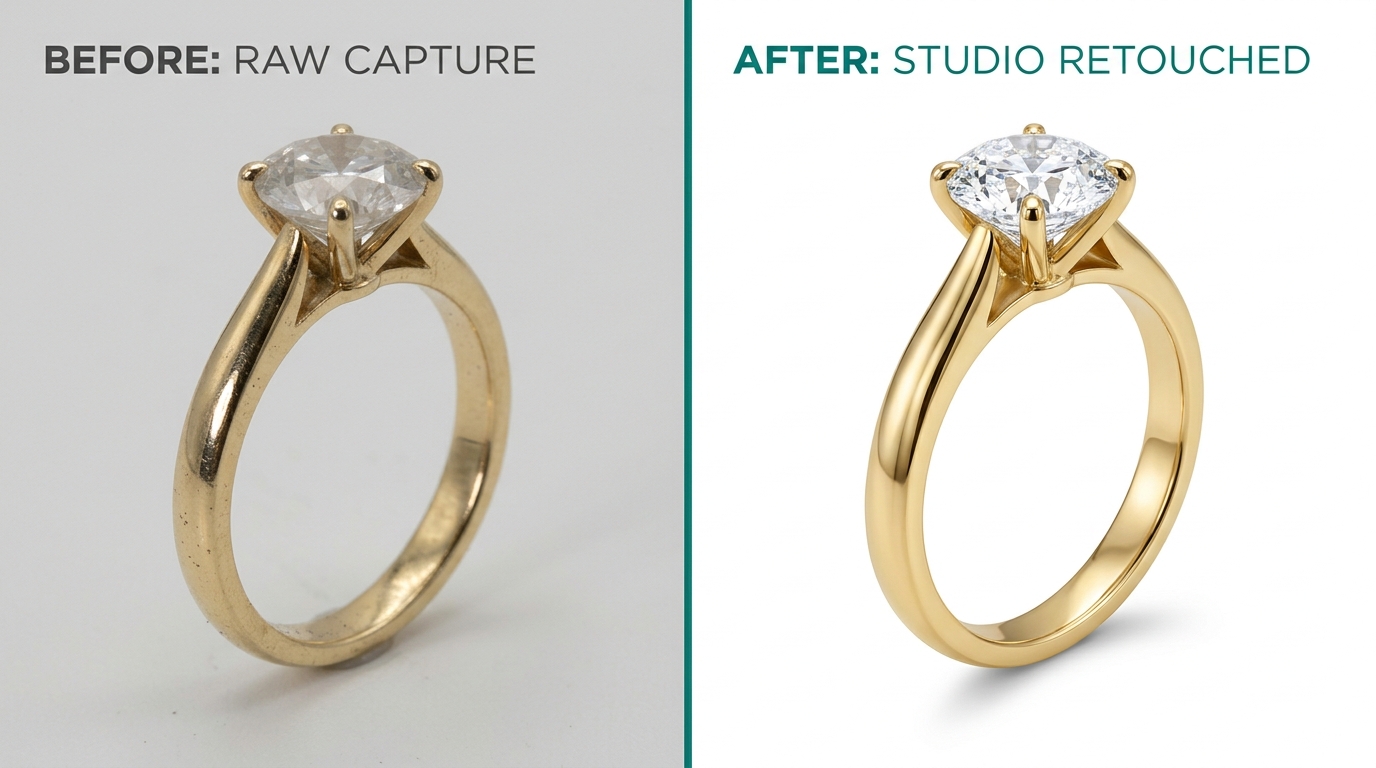
Product Page Conversion Lift vs. Visual Return Rate by Retouching Tier
2. Why Automated AI Background Removers Fail Luxury Jewelry Audits
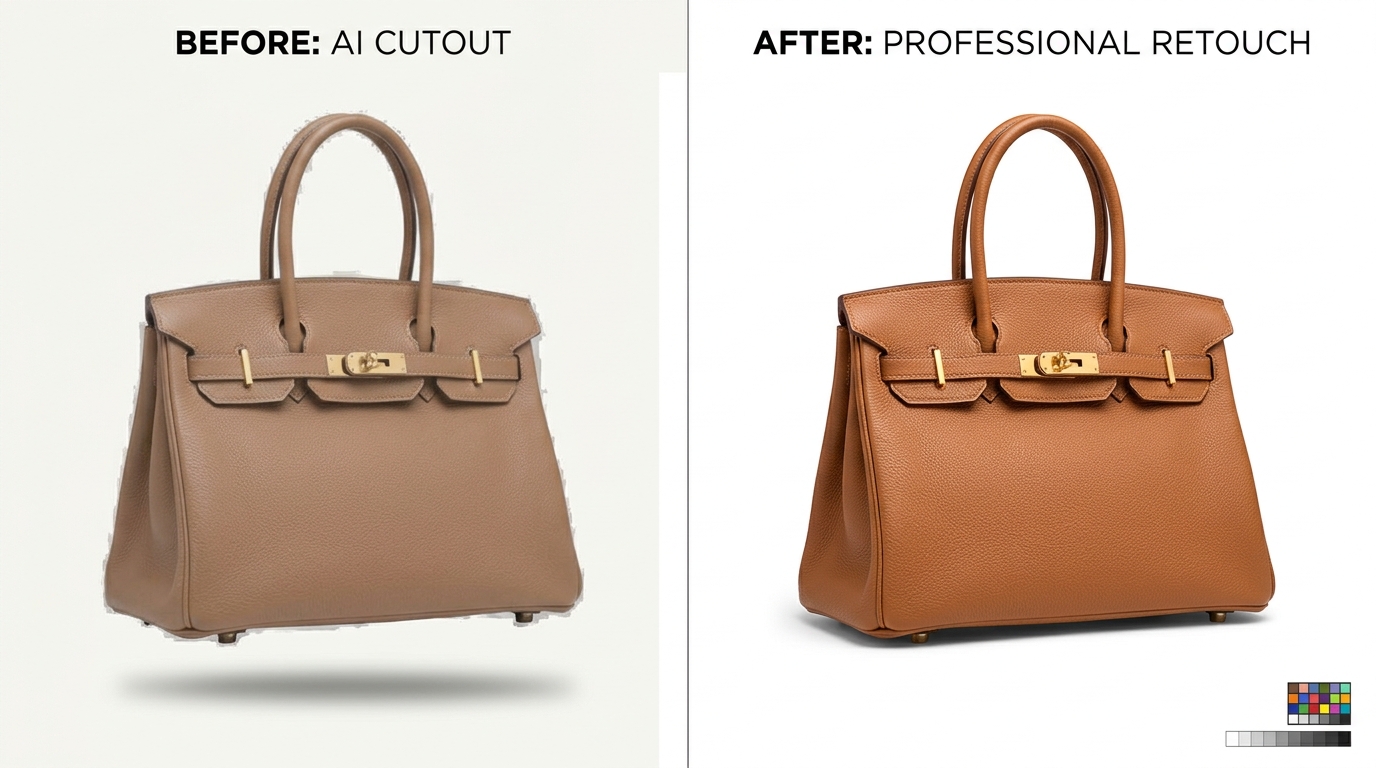
Every year, e-commerce teams test automated neural background removers to cut post-production spend on fine jewelry. While modern matting models perform reasonably well on simple apparel or solid boxes (a topic we examine closely in our Zero-Return Hybrid Retouching Guide), pure automation breaks down catastrophically on jewelry for four structural reasons:
- Prong & Claw Erosion: White gold and platinum prongs sit directly over bright white diamonds. Pixel contrast between the prong and the facet edge approaches zero, causing AI segmentation masks to nibble away structural prongs and leave diamonds appearing unmounted.
- Hollow Loop & Link Blindness: A single Cuban-link bracelet or filigree pendant contains 60 to 250 tiny interior background holes. Automated algorithms either fill these interior gaps with grey studio backdrop or punch irregular, fuzzy holes that fail 200% zoom inspection.
- Translucent Gemstone Confusions: Aquamarine, morganite, opal, quartz, and clear watch crystals transmit the studio table color through the stone. AI removers frequently treat transparent gemstones as "background" and turn precious stones semi-transparent or milky grey.
- Zero Specular Reconstruction: Even if an AI tool extracts the silhouette cleanly, it cannot paint out the dark reflection of a camera lens sitting in the center of a polished 18k rose-gold band.
Where Automated AI Fails Commercial Jewelry Quality Checks (% Defect Rate)
3. The 7-Stage Commercial Jewelry Photo Retouching Pipeline
At Dinamico Studio, high-end watch and jewelry retouching follows a strict non-destructive layer architecture in 16-bit Adobe Photoshop. Every edit remains reversible and organized into labeled layer groups so creative directors can inspect or modify metal tone, stone brilliance, or shadow density independently.
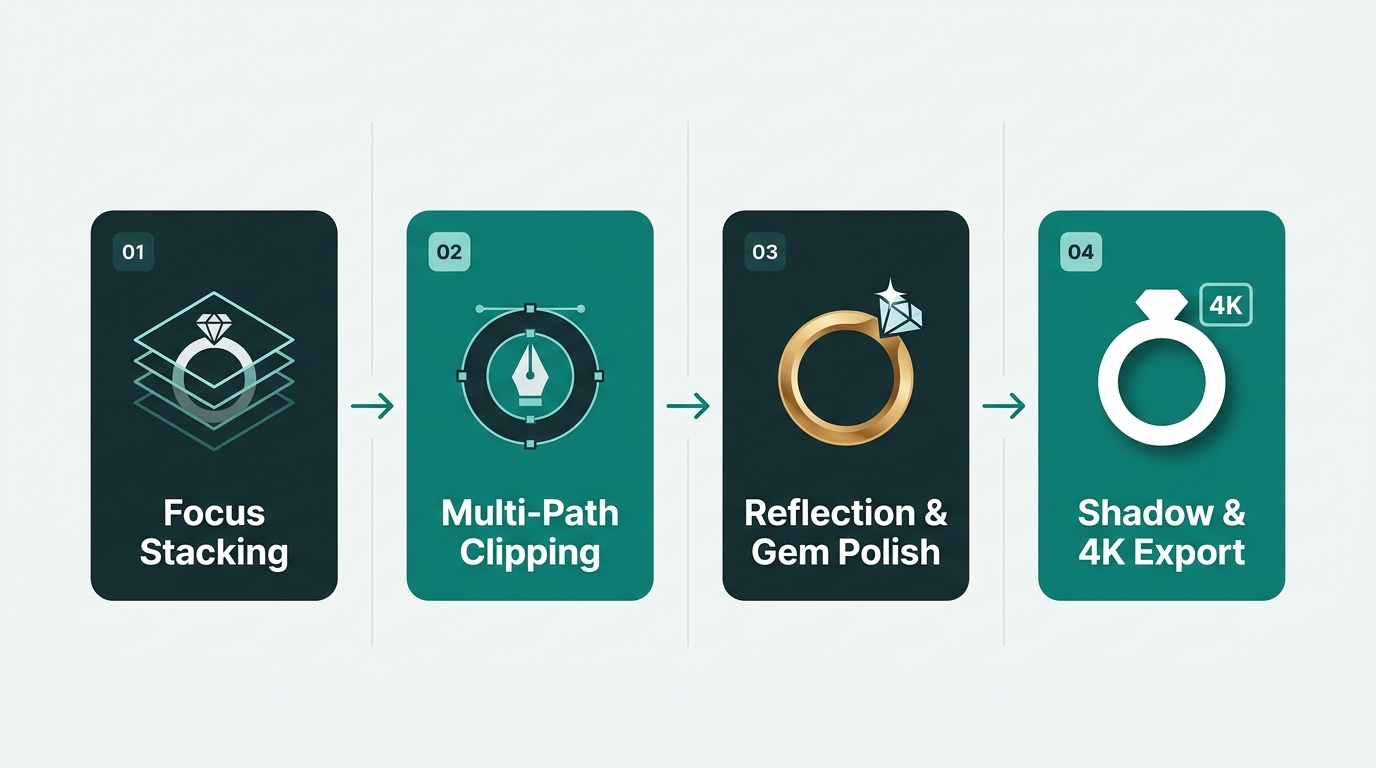
Stage 1: Macro Focus Stacking & Alignment (10–25 Slices)
Because a macro lens cannot hold both the crown of a ring and its back band in sharp focus simultaneously, studios capture a focus bracket of 10 to 25 RAW frames moving from front to back in 0.5mm increments.
- RAW Pre-Normalization: Before stacking, synchronize exposure, lens distortion correction, and custom 5000K white balance across every frame in Adobe Camera Raw or Capture One. Never apply heavy sharpening before blending.
- Helicon Focus vs. Photoshop Auto-Blend: For complex pavé rings and wristwatches, Helicon Focus (Method B / Pyramid Method C) generally produces cleaner edge transitions without haloing than Photoshop’s built-in
Auto-Blend Layers. - Manual Seam Painting: Even the cleanest focus stack leaves faint double-edge ghosting where prongs overlap the band. Retouchers place the crispest single RAW slice on a reference layer underneath and paint out overlap artifacts using soft 100% black/white masks.
Stage 2: Sub-Pixel Multi-Path Vector Clipping
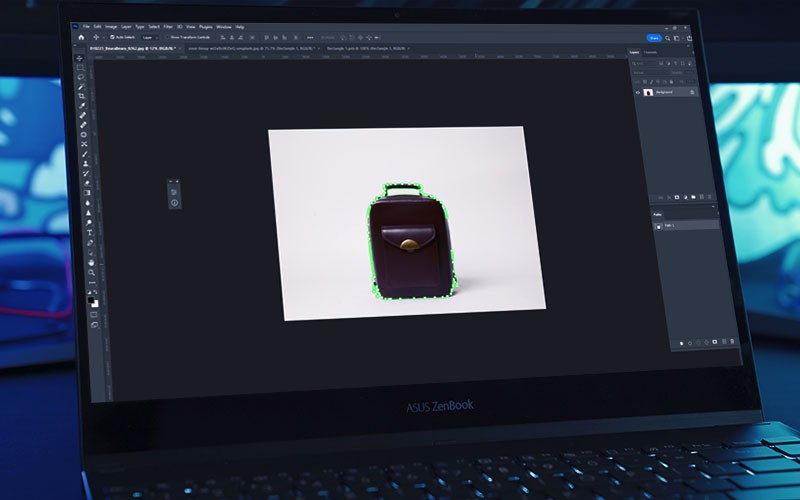
Before any color or reflection work begins, build precision closed vector paths using the Photoshop Pen Tool (P). As explained in our Clipping Path Service specifications, jewelry requires more than a single perimeter outline:
- Path 1 — Outer Silhouette & Interior Holes: Plot anchor points exactly 0.5px inside the physical border to eliminate ambient table color bleed. Carefully punch out every interior loop in chains, clasps, and ring shanks.
- Path 2 — Metal Surface Isolation: Separate yellow gold, white gold, or rose gold bands onto their own named vector path.
- Path 3 — Primary & Accent Gemstones: Trace every center diamond, sapphire, or pavé stone individually so gemstone sparkle and hue grading never tint surrounding prongs.
- Path 4 — Watch Dial, Hands & Bezel (Watches Only): Separate the glass crystal, dial face, sub-dials, and metallic strap links so each material receives tailored contrast.
Stage 3: 300% Zoom Micro-Dust, Scratch & Pitting Removal
Inspect the stacked 16-bit composite systematically in a top-left-to-bottom-right grid at 300% zoom.
- Spot Healing Brush & Clone Stamp (Current & Below): Work exclusively on a blank non-destructive cleanup layer above the background image. Set the Clone Stamp to 100% opacity for hard scratches and 30–40% flow for subtle texture blending.
- Preserve Intentional Engravings: Never clone over
18K,750,PT950hallmarks, serial numbers, or brushed satin grain patterns. Use directional Frequency Separation or subtle 1px directional motion patches along brushed watch lugs so metal grain looks machined rather than smudged.
Stage 4: Metal Reflection Control & Luxury Gradient Painting
This is the stage that separates amateur cutouts from Tiffany- or Cartier-grade commercial photography. Polished metal looks realistic only when light transitions smoothly from bright specular highlight to rich mid-tone to deep dark-line edge contrast (which defines the 3D bevel).
- Eliminating Unwanted Studio Clutter: Use custom curved selections along the ring shank combined with low-opacity gradient fills (
15%–25% Flowsoft round brush or Linear Gradient tool on a clipped layer) to replace patchy dark tripod reflections with continuous, silky cylindrical light gradients. - Preserving Natural Edge Bevels: Never paint a flat solid color across gold or platinum. Keep subtle dark structural contrast along bevels and prong bases so the metal retains crisp weight and metallic realism.
- Multi-Metal Color Consistency: Sample calibrated metal values (for example, neutral cool grey-white for platinum/silver, warm luminous gold for 18k yellow gold, soft copper-blush for 14k/18k rose gold) and neutralize green or magenta color casts using targeted Selective Color and Hue/Saturation adjustment layers clipped to Path 2.
Stage 5: Gemstone Fire, Facet Contrast & Color Calibration
Diamonds, emeralds, rubies, and sapphires lose brilliance when camera dynamic range compresses bright facets and dark internal reflections.
- Diamond Facet Definition: Using Path 3, apply a subtle Curves S-Curve (lifting top highlights slightly while deepening dark internal contrast facets) and a
High PassorUnsharp Mask(Amount 60–90%, Radius 0.8–1.2px) strictly inside the stone mask to make facets pop without introducing noise onto surrounding gold. - Desaturating Yellow/Blue Casts in White Diamonds: Clear white diamonds often pick up warm yellow reflections from surrounding gold prongs. Add a clipped Hue/Saturation or Selective Color layer inside the diamond mask to gently pull down stray yellow/orange saturation inside neutral white stones.
- True-to-Life Colored Gemstones: For colored sapphires, rubies, or emeralds, verify against physical stone references or calibrated color-variant matching so the digital tone stays within Delta-E < 2.0 of the real stone. Never artificially neon-boost stones—over-saturated gems are a top driver of jewelry returns.
Stage 6: Natural Contact Shadows & Mirror Reflections
Dropping a cutout ring onto pure white RGB (255, 255, 255) with zero shadow makes expensive jewelry look cheaply pasted in Microsoft Paint. Ground every piece using one of two studio finishes via our Shadow Creation Workflow:
- Two-Tier Natural Contact Shadow (Amazon / Minimalist DTC Standard): Paint a tight, dark 2–4px occlusion shadow strictly where the band or earring hook touches the surface, layered beneath a wider, soft 10–18% opacity diffused ambient shadow.
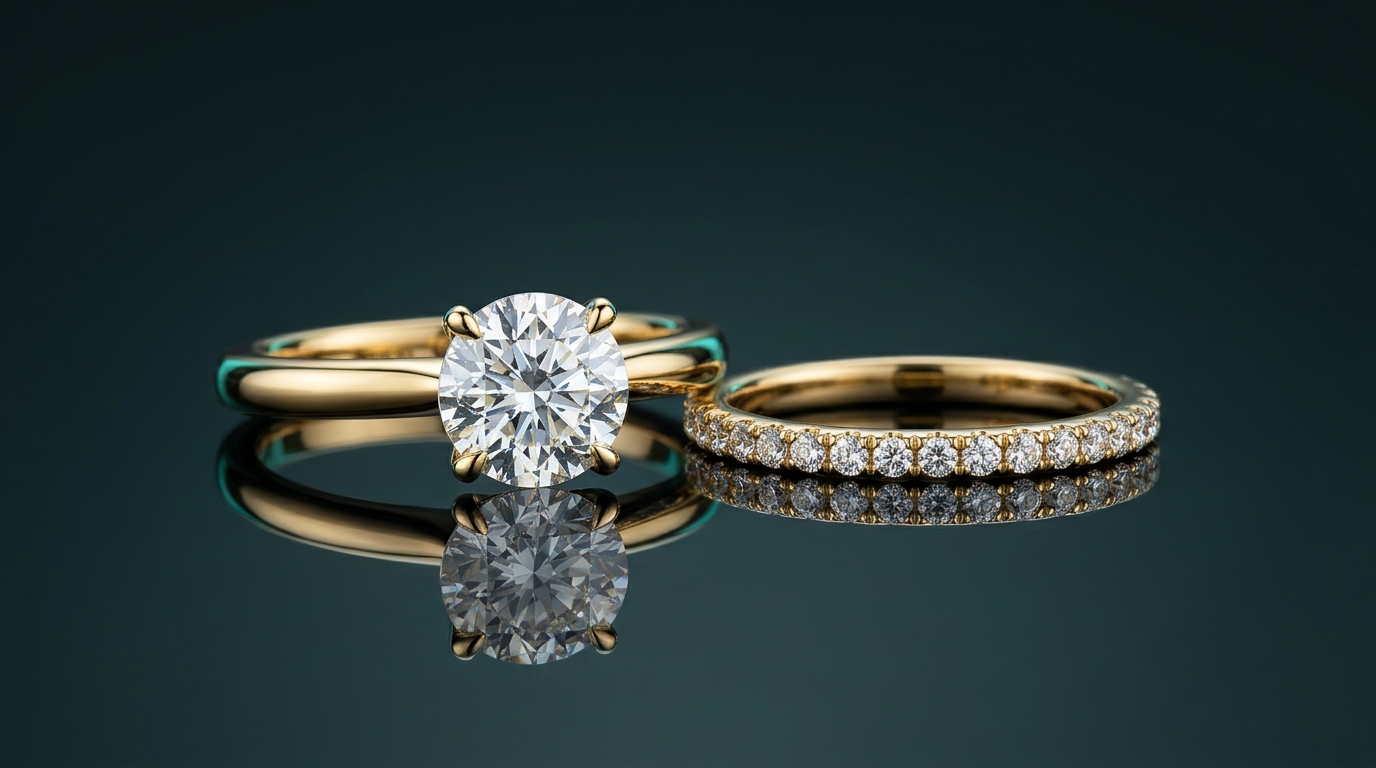
- Glossy Mirror Reflection (Luxury Editorial / Watch Standard): Duplicate and vertically flip the isolated piece, apply a subtle perspective warp along the base curve, mask with a sharp-to-transparent vertical gradient fading over 15–25% of the item’s height, and set opacity between 18% and 28%.
Stage 7: sRGB Profile Conversion & Multi-Channel Export
Convert the final master TIFF/PSD cleanly to sRGB IEC61966-2.1 (8-bit for web export while archiving the 16-bit layered PSD). Always embed the ICC profile so Safari, Chrome, and mobile apps render gold and gemstone tones identically. Export at 2400×2400px to 3000×3000px (1:1 square for marketplaces, or brand aspect ratio) with balanced 10%–15% margin framing.
4. Retouching Requirements by Jewelry Category
Not every piece of jewelry needs the same retouching hours or techniques. Use this studio complexity matrix to plan shoot preparation, editing specs, and post-production budgets accurately:
| Jewelry Type | Primary Optical Challenge | Required Retouching Techniques | Ideal Shadow Finish | Typical Studio Time |
|---|---|---|---|---|
| Solitaire & Band Rings | Curved shank mirrors tripod/hands; narrow depth of field front-to-back. | 12–20 slice focus stack, inner-hole clipping path, smooth metal gradient paint, facet contrast. | Tight contact shadow or subtle 20% acrylic reflection. | 20–35 min / image |
| Pavé Diamond & Filigree Pieces | Dozens of tiny micro-prongs and interior cut-out holes prone to AI erosion. | Multi-layer vector pen paths (outer + every hole), selective diamond sparkle & yellow-cast removal. | Soft natural contact shadow. | 35–60 min / image |
| Chains, Necklaces & Bracelets | 50–200+ interlocking links creating complex negative space and uneven drape. | Compound clipping paths across every link, subtle symmetry/alignment polish, specular link cleanup. | Natural drop shadow or custom flat-lay occlusion. | 30–55 min / image |
| Luxury Watches | Crystal glass glare obscuring dial typography; 10:10 hand positioning; brushed vs. polished steel mix. | 5+ separate paths (case, bezel, dial, hands, strap), glass glare removal, dial sharpness, brushed grain preservation. | Standing contact shadow + soft crisp reflection. | 40–75 min / image |
| Translucent Gemstones & Pearls | Light passes through stone picking up table color; pearls mirror softboxes. | Manual alpha/vector mask preserving internal refraction, controlled orient luster, true-hue Delta-E calibration. | Soft ambient shadow without harsh dark edge bleed. | 25–45 min / image |
5. Marketplace & Luxury Platform Image Specifications (2026)
Even flawless retouching can get suppressed by marketplace ingestion bots if export dimensions, background values, or margins fall outside platform rules. Verify these specs before uploading your catalog:
- Amazon Fine Jewelry & Watches: Main image must sit on mathematical pure white RGB (255, 255, 255), occupy at least 85% of the frame, measure 2000×2000px+ (minimum 1000px) to activate zoom, and contain zero props, mannequin busts, or promotional badges on the MAIN slot.
- Shopify / Luxury DTC Stores: Standardize on uniform 2048×2048px or 2400×2400px square framing (keeping every ring at an identical ~78% canvas scale so collection grids align effortlessly) in sRGB WebP/JPEG or transparent PNG for seasonal banners.
- Google Shopping & Meta Catalog Feeds: Minimum 1500×1500px with clean neutral or pure white backgrounds, zero text overlays, and strict color consistency with product titles/swatches so automated disapprovals never pause ad campaigns.
For a deeper dive into pure-white compliance and multi-marketplace formatting, see our full Background Removal for E-Commerce Product Photos Guide.
6. Recoloring Metal Variants Without Reshooting & Studio Capture Prep
Fine-jewelry catalogs rarely ship in a single alloy. Most engagement rings, tennis bracelets, and hoop earrings launch in three to four metal finishes: 14k/18k Yellow Gold, 14k/18k Rose Gold, Platinum / White Gold, and Black Rhodium. Reshooting four separate studio focus stacks for every single SKU multiplies photography labor and sample-shipping logistics by 400%.
Using the multi-path vector separation built in Stage 2 (where Path 2 isolates the metal body cleanly away from diamonds and colored center stones), experienced colorists convert a single master white-gold or silver shoot into calibrated alloy variants without altering natural stone reflections:
- Step 1 — Preserve Luminosity & Specular Map: Never paint flat color tints onto metal. Keep the original specular highlights and dark structural bevels intact by applying adjustment layers set to
ColororLuminosity-safe blend modes on top of a neutral desaturated metal base. - Step 2 — Calibrate Alloy Curves to Target Lab/RGB Swatches: For 18k Yellow Gold, lift warm yellow-amber in the midtones using targeted Curves (adding gentle red + green while pulling back blue channel curves) and warm highlight roll-off without turning bright specular peaks muddy. For 18k Rose Gold, balance magenta-copper warmth in the midtones while keeping edge highlights crisp champagne rather than overly pink.
- Step 3 — Lock Gemstone & Prong Independence: Because prongs reflect a subtle hint of the surrounding band while white diamonds must stay neutral and bright, apply a 15%–20% feathered tint strictly on prong undersides and keep the diamond crown mask (Path 3) neutral.
- Step 4 — Batch-Verify Across Collection Grids: Place all four alloy SKUs side by side against a calibrated 50% gray canvas to confirm identical shadow density, orientation, and metallic sheen before publishing to your multi-SKU color variant pipeline.
Pre-Shoot Studio Checklist That Cuts Retouching Costs by 40%
Great post-production begins on the shooting table. Photographers who hand off clean RAW brackets cut per-image editing complexity and turnaround times dramatically:
- Ultrasonic Bath & Cotton Gloves Only: Clean every piece in an ultrasonic jewelry cleaner and steam-dry immediately before setting up; handle strictly with lint-free nitrile or microfiber gloves to prevent greasy fingerprint etching across curved bands.
- Strategic Black Negative-Fill Cards: Do not surround jewelry in a pure 360-degree white light tent—doing so turns polished silver and white gold into flat, washed-out white shapes with invisible edges. Position thin strips of black foam core or matte cinefoil just outside frame so crisp dark reflection lines trace the metal’s bevels.
- Consistent 45° & Straight-On Angles: Lock camera elevation, tripod distance, and focal length across entire product lines so rings, earrings, and watches share matching perspective on category pages.
- Embed an X-Rite ColorChecker Frame: Capture one reference shot with a calibrated color target whenever lighting modifiers move, giving your retouching team an objective neutral anchor for exact white balance.
7. In-House Editing vs. Freelancer vs. Dedicated Jewelry Studio: 2026 ROI Guide
When scaling from 20 jewelry SKUs a month to 500+ seasonal releases, creative directors face an operational bottleneck: keeping multi-path clipping, focus stacking, and metal gradient painting consistent across every product line without blowing shoot budgets or launch schedules.
- In-House Retoucher (Salaried): Ideal for bespoke editorial hero campaigns requiring real-time creative director feedback on set. However, at a loaded salary of $55,000–$85,000/year, an in-house artist processing 12–18 complex jewelry images per day yields an effective cost of $18–$28 per image and creates severe backlog during Q4 holiday peaks.
- Ad-Hoc Marketplace Freelancers: Low upfront rates, but high variance in vector path accuracy, gold hue consistency, and file naming discipline. Creative managers often spend more hours auditing and rejecting inconsistent edits than shooting.
- Specialized Commercial Studio Partner (Dinamico Studio): Combines dedicated multi-person jewelry pods (splitting vector pen paths, focus-stack seam cleanup, reflection painting, and 4-point QA) with predictable per-SKU pricing ($1.50–$6.50 depending on complexity) and 12–24 hour overnight turnaround. Brands keep their internal creatives focused on art direction and shooting while clearing 1,000+ SKU launches effortlessly.
8. 5 Common Jewelry Retouching Mistakes That Destroy Brand Trust
- Over-Smoothing Metal Until It Looks Like Plastic CGI: Painting 100% opaque solid gradients across an entire ring erases subtle light falloff and makes real 18k gold look like a low-budget 3D render. Always blend gradient passes at 40%–70% layer opacity and keep edge bevel highlights crisp.
- Forgetting Yellow/White/Rose Metal Cast Balance: Leaving camera warm tint on white gold or silver makes platinum jewelry look tarnished; leaving cyan bounce on yellow gold makes 18k gold look plated.
- Copying Identical "Fake" Reflections Across Every SKU: Dropping the same synthetic sparkle brush or identical mirror line onto every product looks artificial when shoppers compare three rings side by side.
- Soft-Feathered Selections Around Prongs (0.5px+ Blur): Using the Magic Wand or Quick Selection leaves fuzzy grey haloes around bright white gold prongs on dark screens. Always use crisp Pen Tool vector paths with 0.2px–0.3px max edge feathering.
- Ignoring Watch Hand Alignment & Dust Inside Dial Glass: On luxury timepieces, forgetting to remove dust trapped behind the sapphire crystal or leaving dial indices soft under zoom immediately signals careless editing.
9. The 4-Point Studio QA Checklist Before Publishing
Every jewelry asset passing through Dinamico Studio’s quality assurance desk must pass four checks at 200% magnification before client delivery:
- Check 1 — Tri-Background Edge Audit: Toggle the isolated cutout over 100% Black (#000000), 50% Gray (#808080), and Pure White (#FFFFFF). Any white halo, background fringe, or missed chain loop hole is caught instantly.
- Check 2 — Front-to-Back Sharpness Verification: Confirm focus-stack seams show zero double-edge ghosting across prongs, bezels, engraving stamps, and clasp hinges.
- Check 3 — Metal & Gemstone Color Audit: Verify neutral gray/white balance on silver/platinum and Delta-E < 2.0 fidelity on gold alloys and colored gemstones against studio swatches.
- Check 4 — Grounding & Export Hygiene: Confirm natural contact shadow opacity (no floating cutout), sRGB IEC61966-2.1 embedded profile, consistent frame centering, and clean original SKU filenames.
Ready to Transform Your Jewelry Catalog?
Upload your raw ring, earring, necklace, or watch captures directly to our secure S3 studio pipeline—100% handcrafted vector paths, focus-stack blending, and reflection control.
10. Frequently Asked Questions (FAQ)
How much does professional jewelry photo retouching cost per image?
Standard solitaire or simple band cleanup (dust removal, clipping path, metal polish, and natural shadow) typically ranges from $1.50 to $3.50 per image. Complex multi-path pieces—such as pavé diamond rings, intricate chains, focus-stacked macro blends, or luxury wristwatches—usually range from $4.00 to $9.00+ per image depending on volume and layered PSD requirements. Check our transparent studio pricing or request a custom batch quote.
Why use focus stacking instead of shooting at f/22 for jewelry photography?
Stopping a macro lens down to f/22 causes severe optical diffraction, softening fine diamond facets, metal grain, and hallmark engravings across the entire image. Shooting 10–20 frames at the lens’s optical sweet spot (f/8 to f/11) and focus-stacking them preserves crisp edge-to-edge micro-contrast from the front prongs to the rear band.
Can AI tools replace manual Photoshop retouching for fine jewelry?
Not for commercial e-commerce hero images. While AI works well for rough moodboards, automated tools erode bright prongs against white diamonds, fail on dozens of chain link holes, misclassify translucent gemstones, and cannot reconstruct smooth metallic gradients over tripod/camera reflections. Hybrid or dedicated human vector + gradient retouching remains mandatory for luxury retail conversion.
Which file format should photographers send for jewelry retouching?
Always shoot and deliver uncompressed 14-bit or 16-bit RAW files (CR2, CR3, NEF, ARW, DNG) or 16-bit TIFFs. RAW captures preserve highlight recovery inside white-hot metal speculars and diamond facets where compressed 8-bit JPEGs clip permanently to pure white.
How do retouchers keep yellow gold, rose gold, and white gold consistent across a catalog?
Professional studios shoot an X-Rite ColorChecker passport at the start of every lighting setup, lock Kelvin white balance across batches, separate each metal zone onto dedicated clipping paths, and calibrate highlights/midtones against standardized RGB/Lab target swatches to keep alloy variance under Delta-E < 2.0.
How fast can Dinamico Studio deliver bulk jewelry retouching?
Our dedicated jewelry post-production team delivers standard and bulk batches (50 to 1,500+ SKUs) within 12 to 24 hours, with rush 6-hour options available for seasonal lookbooks and marketplace launch deadlines.