6 Techniques for Doing Product Photography
Beautiful product photography can be worth a thousand words alone. It's certain to boost your clients' s online shopping experience and boost your eCommerce sales as well. In reality, showcasing your goods with high-class photographs will assist you in achieving the greatest outcome for your online business endeavor. Yet, with so many photography tools available on the web these days, how do you know which photography tool is the best for you? Here are some of the most amazing tools.
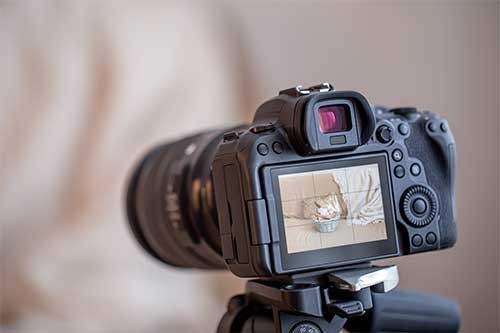
Camera: The leading tool for taking product photos is the digital camera. Professional photographers are certain to agree that using a smartphone with a good camera is indispensable. Some of the top smartphone cameras have built-in professional photographer applications so that they can take professional photos. This is particularly beneficial if you are just starting out in online photography and want to build up your portfolio before you invest money into professional equipment.

White Balance: Using a white balance setting makes sure that every shot you take is equally exposed. That means you won't end up having images that are underexposed or bright. You can find white balance settings by going into the camera's user interface and tapping the settings option. To get the ultimate results, make sure the white balance is always on the auto-white balance side. This can be done by checking the options next to the light sensor. If you need more information on white balance, check out our article on white balance editing.

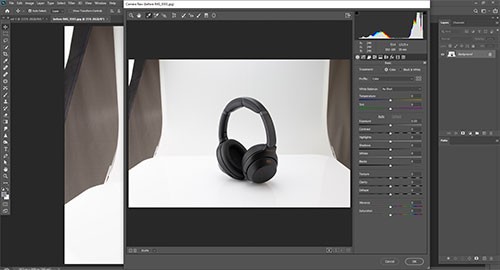
Lightroom: Professional photographers use photo editing apps like Lightroom to publish their product photos on the web. Professional photographers also make use of this software to edit their images in a way they think is most appropriate. Lightroom is a powerful editing program for smartphones and tablets. To use Lightroom, you will need an iPhone or iPad and a camera that supports the application.
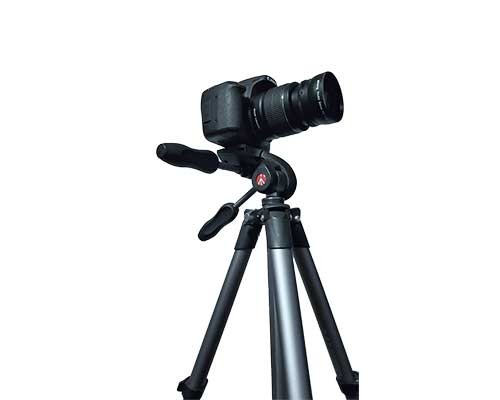
Shoot from a tripod: No matter how good your camera is, you won't be able to take product photography properly if you don't have a tripod. A tripod will help ensure that the camera is held steady and that there are no movements within the foreground or background during the image shoot. Many smartphone users prefer to shoot from a tripod because it ensures that all the images are taken at the same angle, which gives better results. This can be useful when taking a portrait where a slight change in position can mean an entirely different angle for the face.

Your and android versions have quite a few similarities, but there are some big differences as well. The two smartphone operating systems are very similar in both the design of their interfaces and in the way they handle touch input. However, there are differences when it comes to camera behavior, and the way images are edited on both the iPhone and Android devices. On the one hand, the iPhone's functionality is much more versatile when compared to the Android handset. The Android handset only lets you edit text, whereas the iPhone allows you to delete, change background colors, add text to pictures and do a lot more.
Shoot in RAW format: Since iPhones can take high-quality images in low light, they make perfect candidates for taking product photos. If you have tried taking photographs in JPEG format on your camera, you will know just how prone to problems shooting in low light can be. Of course, this only applies if you have a relatively decent camera. The iPhone's superior sensor is the reason why it is ideal for taking photos of people with faces in dim light or low light areas. The lack of optical zoom on the Android handset is why it is better suited to product photos. The lack of optical zoom on the iPhone is also why it costs less than the Android handset.
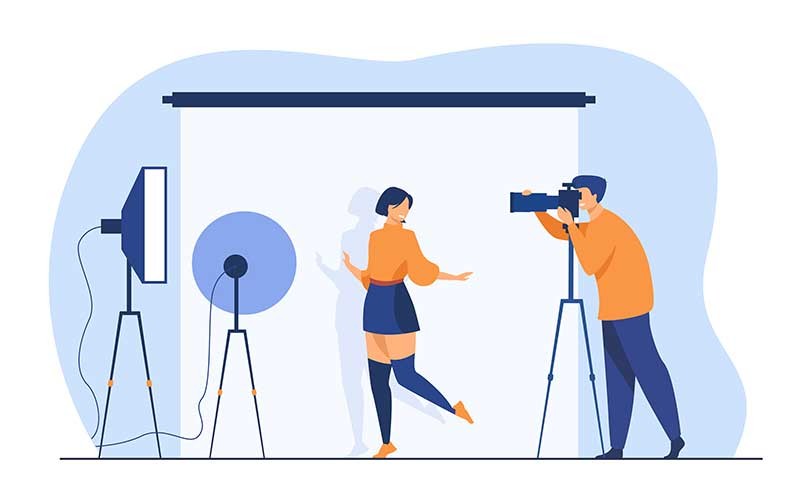
Get good lighting conditions: When you go about doing DIY product photography, it is very important that you get access to good lighting conditions. This means that you should take pictures of subjects in rooms that are well lit and not dimly lit or poorly lit. Even when your subject is standing in front of a table in the dark, it would still look lovely and attractive. As a result, you should use different techniques when you are trying to achieve the lighting effects that you want to achieve.
